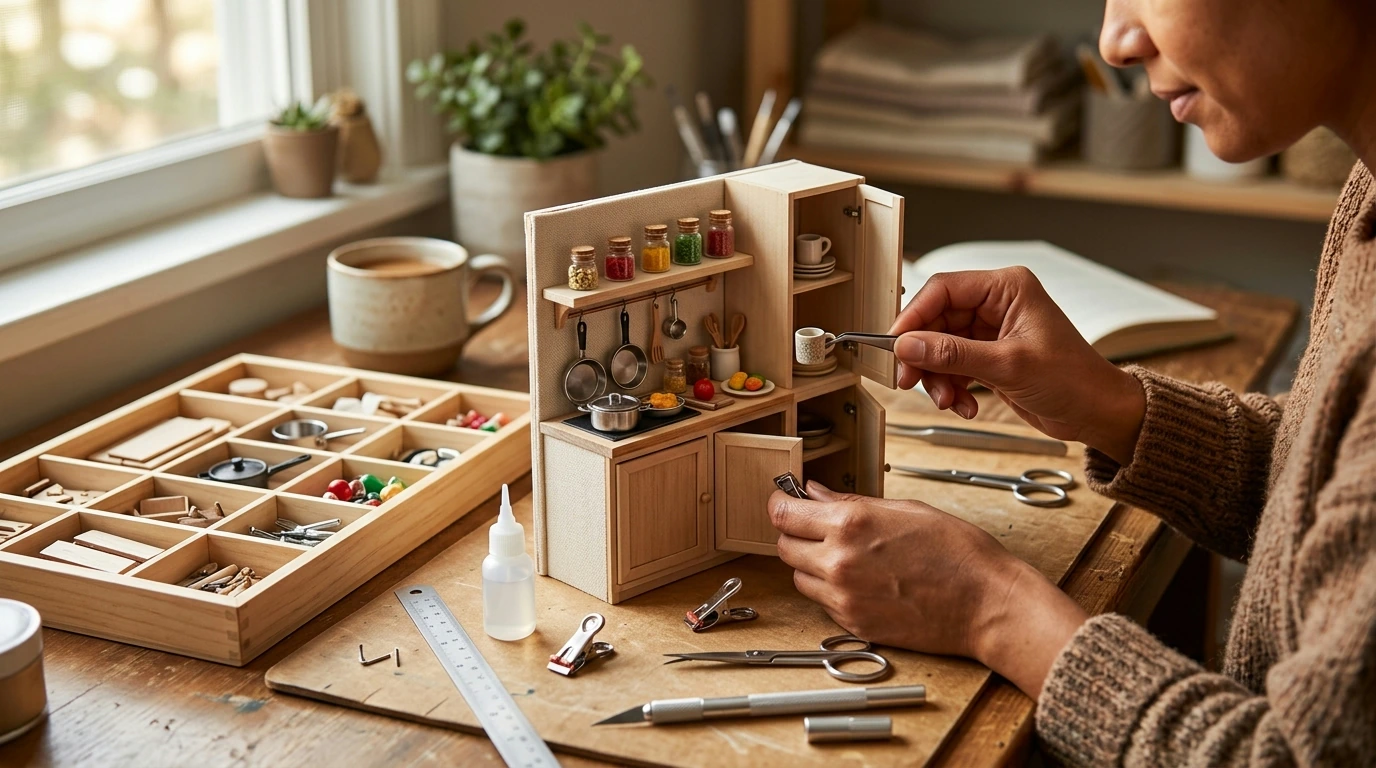
A miniature kitchen kit brings together hands-on building, tiny decor details, and a satisfying finished display piece. This type of project suits relaxed weekend crafting, gifting to hobbyists, or creating a collectible room scene with realistic accessories and a warm “home” feel. If you enjoy careful assembly, small-scale styling, and that rewarding moment when the last little prop clicks into place, a kitchen-themed build is one of the coziest miniature projects to finish and show off.
Miniature room kits hit a sweet spot: they feel more immersive than a quick puzzle, but they’re still approachable for everyday crafters. A kitchen theme is especially charming because “everyday life” details—cabinets, cookware, pantry items, and countertops—create instant realism.
Many crafters also find that hands-on making is a satisfying way to slow down and stay engaged. If you’re building for relaxation, it can pair well with the broader idea of meaningful handwork and hobby time (see Smithsonian Magazine’s perspective on why making with your hands matters: https://www.smithsonianmag.com/innovation/why-hand-matters-180953019/).
For families, it can also serve as a screen-free activity idea when you want something structured and absorbing. The American Academy of Pediatrics offers guidance on balancing media use and encouraging offline activities: https://www.aap.org/en/patient-care/media-and-children/.
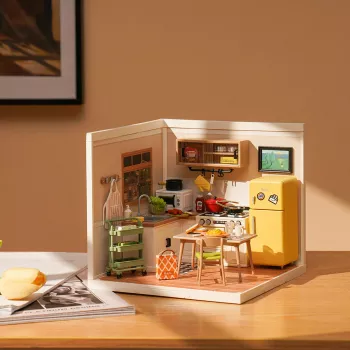
If you’re looking for a dedicated kitchen scene (rather than a generic room), the DIY Miniature Kitchen Building Kit is designed as a self-contained miniature room build with decor-focused finishing touches. Kitchen builds are often extra satisfying because they naturally include “props” that make the room feel lived-in.
| Item | Info |
|---|---|
| Product | DIY Miniature Kitchen Building Kit |
| Price | 43.51 USD |
| Availability | In stock |
| Best use | Craft build + display miniature kitchen scene |
| Product link | https://perfectchoiceoutlet.shop/diy-miniature-kitchen-building-kit/ |
Mini builds go more smoothly when your setup is calm, bright, and organized. Before the first cut or glue dot, take a few minutes to get your tools and sorting method ready.
One practical tip: keep a “parts parking zone” (an empty tray or shallow box lid) so in-progress pieces don’t wander off the desk.
Most miniature-kit stress comes from rushing glue steps or handling delicate details too early. A simple build rhythm keeps everything aligned and reduces redo moments.
For those building as a long-term hobby, maintaining a comfortable, enjoyable crafting routine can support overall well-being (the National Institute on Aging discusses the value of activities and healthy aging: https://www.nia.nih.gov/health/exercise-and-physical-activity).
| Add-on | Why it fits | Link |
|---|---|---|
| Reversible Pre-Seasoned Cast Iron Griddle with Non-Stick Surface for BBQ and Cooking | A functional kitchen upgrade that complements the kitchen theme | View product |
| Smart Styling System for Warm Tablescape Ideas – 5-in-1 Digital Bundle | Helps inspire real-life table styling to match the cozy kitchen vibe | View product |
If you want the bundle to stay purely miniature-focused, keep the DIY Miniature Kitchen Building Kit as the centerpiece and add a handwritten note suggesting a “two-session build”: structure first, decor second.
Yes—most beginners do well by following steps carefully, dry-fitting pieces before gluing, and using basic tools like tweezers and a ruler. Start with the larger structural components first (floor, walls, cabinets) before moving on to the tiny decor.
A typical build often takes several hours across one to three days, depending on your pace and how much drying time you allow between sections. Splitting it into shorter sessions—structure one day and detailing another—helps keep the finish neat.
Tweezers, precision scissors or a hobby knife, a small ruler, and a fine-tip glue applicator make the biggest difference. Small clips or clothespins are also useful for holding pieces steady while adhesive cures.










Leave a comment