Electric Chainsaw Sharpener: Consistent Edges Without Guesswork
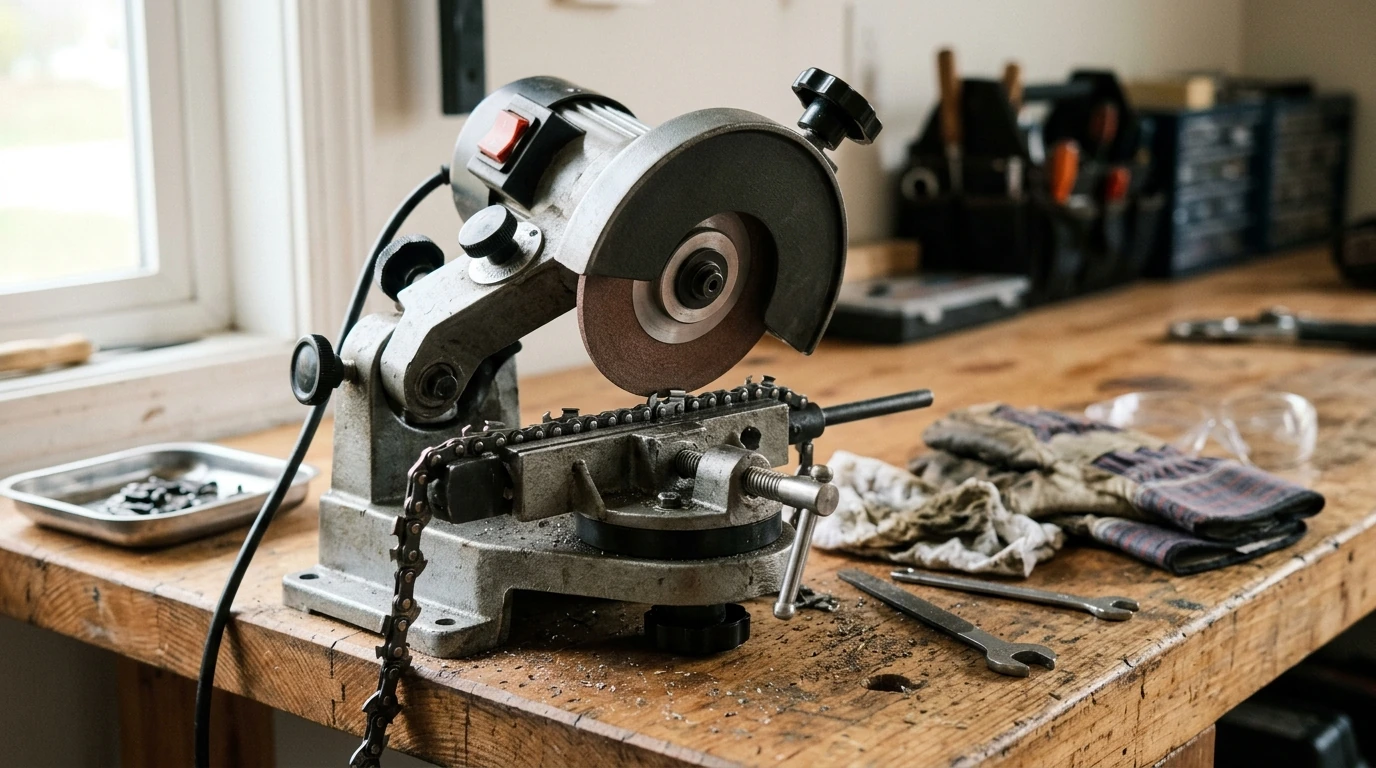
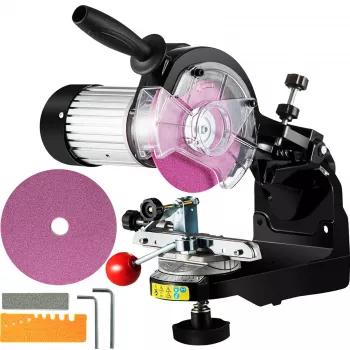
A bench-style electric chain grinder is built for repeatable results: consistent top-plate angles, even cutter lengths, and fast touch-ups that keep a saw cutting straight. This 230W sharpener focuses on controllable grinding with adjustable angles, making it practical for homeowners who cut regularly and for anyone maintaining multiple chains.
What This Sharpener Helps Solve
- Restores dull chains faster than hand-filing when several cutters need work.
- Helps prevent crooked cuts caused by uneven cutter length or mismatched angles.
- Makes it easier to keep a consistent top-plate angle across left and right cutters.
- Supports repeatable sharpening sessions by using fixed stops and angle settings.
Key Features to Look For in a 230W Chain Grinder
- Adjustable sharpening angles so you can match common chain specifications rather than “freehanding” the edge.
- Solid base or mount points to reduce vibration—less chatter usually means a cleaner, more uniform grind.
- Depth stop (cutter stop) to control how much material comes off per pass and avoid shortening cutters too quickly.
- Grinding wheel compatibility with straightforward wheel changes so you can replace worn wheels on schedule.
- Clear markings and reliable locks that hold the angle setting without drifting while you work through the chain.
Adjustable Angles: How to Match Common Chain Setups
On most chains, the top-plate angle is the main adjustment that determines how aggressively the cutter feeds and how cleanly it tracks through wood. Many general-purpose setups land around 25°–35°, but the correct target depends on the cutter design and manufacturer recommendations.
- Top-plate angle: Often set between 25°–35° depending on chain type and cutting conditions.
- Tilt/side-plate influence: If your grinder offers tilt, keep it consistent left-to-right so both sides of the chain cut evenly.
- Confirm before grinding: Use the chain’s packaging, owner’s manual, or manufacturer marks to verify angles.
- When uncertain: Start conservatively and remove minimal material per pass to preserve cutter shape.
Angle and Setup Quick Guide (Confirm With Your Chain’s Specs)
| Chain / Use Case |
Typical Top-Plate Angle Range |
Sharpening Notes |
| General firewood cutting |
30°–35° |
Prioritize consistent cutter length; light passes reduce overheating. |
| Hardwood / longer edge life preference |
25°–30° |
Slightly lower angles can hold an edge longer but may cut slower. |
| Dirty wood / storm cleanup |
25°–30° |
Touch up more frequently; avoid heavy grinding that shortens cutters fast. |
| New chain or unknown angles |
Match manufacturer recommendation |
Check chain package/manual; avoid reshaping cutter profile unless necessary. |
Setup: Mounting, Wheel Check, and First Adjustments
- Mount securely: Bolt the grinder to a sturdy bench or stable board so the head movement stays predictable.
- Inspect the wheel: Check for cracks, chips, or damage before use and replace compromised wheels.
- Set the vise/clamp: The chain should sit firmly without rocking so each cutter meets the wheel the same way.
- Lock angles before grinding: Dial in the head angle (and tilt if available), then tighten locks to prevent drift.
- Use a depth stop: Set it to limit how far the wheel can travel into the cutter on each pass.
For general abrasive-wheel safety and guarding principles, refer to OSHA’s machine guarding guidance: https://www.osha.gov/machine-guarding.
Sharpening Process for Consistent Left and Right Cutters
- Clean first: Remove sap and debris so the cutting edges and witness marks are easy to see.
- Pick a reference cutter: Find the shortest cutter and sharpen the rest to match its length (this helps the saw track straight).
- Work one side at a time: Sharpen all left cutters, then reset the angle for the right cutters.
- Use light, controlled passes: Stop as soon as the edge is restored instead of “digging in” for a mirror finish.
- Check rakers (depth gauges): After sharpening cutters, verify raker height with the correct guide tool for your chain.
For angle concepts and depth-gauge basics, manufacturer references can be helpful, such as STIHL’s overview: https://www.stihlusa.com/information/how-to/sharpen-a-chainsaw/.
Avoiding Common Mistakes That Ruin Chain Performance
Safety Practices for Electric Chain Grinding
Maintenance and Storage for Repeatable Results
When This Type of Sharpener Makes the Most Sense
Product Options Available Now
FAQ
What angle should a chainsaw chain be sharpened at?
Many chains fall in the 25°–35° top-plate range, but the correct angle depends on the chain design and intended use. Check the chain packaging, owner’s manual, or manufacturer marks and match that specification before grinding.
Can an electric sharpener ruin a chainsaw chain?
Yes—overheating the cutters, removing too much material, or grinding inconsistent angles and lengths can reduce chain life and cutting quality. Use light passes, set a depth stop, and sharpen all cutters to match the shortest one.
Do rakers need adjusting after sharpening cutters?
Often, yes—especially after several sharpenings—because cutters get shorter while rakers stay the same height, reducing bite. Use the correct depth-gauge tool for your chain and lower rakers only to the recommended setting.
Recommended for you











Leave a comment