HomeBlogBlogCordless Nail Drill Machine Guide: Bits, RPM & Safety

Cordless Nail Drill Machine Guide: Bits, RPM & Safety

Cordless Nail Drill Machine Guide: Bits, RPM & Safety

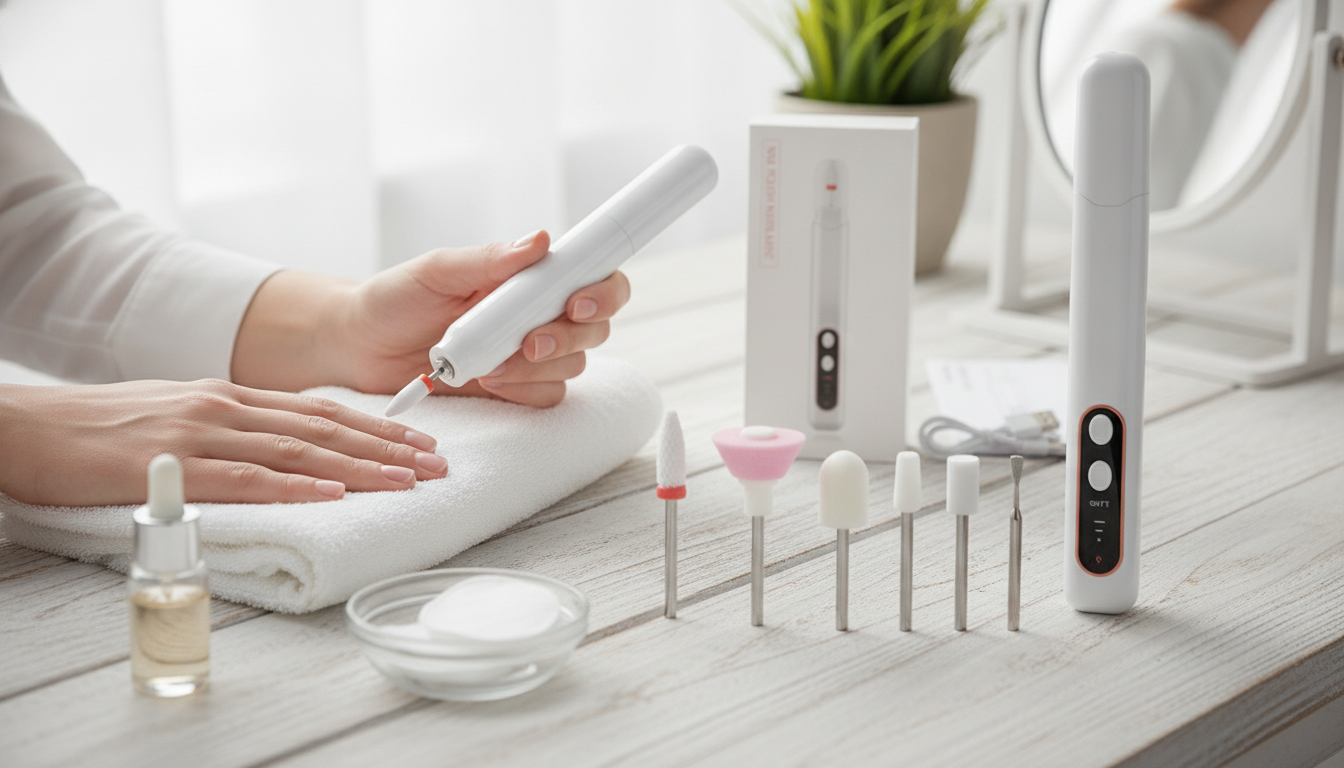
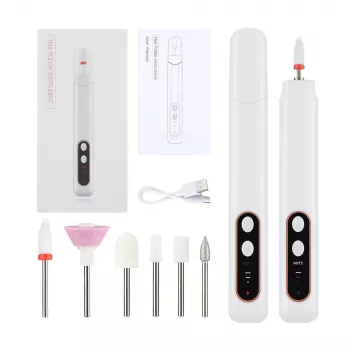
Professional Cordless Electric Nail Drill Machine: Smooth Shaping for Manicures and Pedicures

A cordless nail drill can speed up shaping, smoothing, and product removal while keeping hands comfortable and workspaces tidier. A professional-style cordless electric nail drill machine is especially useful when a consistent RPM and a steady handpiece help create cleaner lines than rushing with a manual file. Below are practical ways to use one safely, how to pick bits and speeds, and what habits help avoid heat or thinning—whether you’re doing a quick at-home refresh or maintaining nails on a busy schedule.

What a cordless nail drill helps with

  • Refining nail shape and smoothing surfaces after clipping or filing
  • Reducing bulk during product removal (gel, acrylic, dip) when paired with the right bit and technique
  • Prepping the nail plate and cuticle area with gentle, controlled steps
  • Improving consistency: even pressure and steady RPM can reduce over-filing compared to rushing with a manual file
  • Convenience benefits: portable use, fewer cords around water or product bottles, easier storage

For many routines, the biggest advantage is consistency. A stable speed helps keep strokes even, which can make shaping more symmetrical and reduce accidental flat spots—especially when switching hands or working around sidewalls.

Key parts and features to understand

  • Speed control (RPM): lower speeds for natural nail work; higher speeds for safe product reduction when experienced
  • Forward/reverse rotation: supports both left- and right-handed work and improves control around sidewalls
  • Handpiece comfort: lighter, low-vibration grips reduce fatigue during longer sessions
  • Battery and charging: cordless models prioritize runtime, quick charging, and stable output as the battery drops
  • Bit compatibility: common shank sizes and secure locking help prevent wobble and uneven filing

Quick guide to drill settings and typical uses

Task Bit type (example) Suggested speed range Notes for control
Natural nail shaping and smoothing Fine sanding band or fine grit bit 3,000–8,000 RPM Use light pressure; keep the bit moving to avoid heat
Cuticle-area clean-up Small flame/needle or tapered bit (fine) 3,000–6,000 RPM Work slowly; stay on dead skin, avoid digging into the nail plate
Gel polish removal (thin layers) Fine/medium ceramic or carbide barrel 8,000–15,000 RPM Reduce product gradually; stop before reaching natural nail
Acrylic or builder gel bulk reduction Medium carbide barrel 12,000–20,000 RPM Use controlled strokes; avoid staying in one spot to prevent heat spikes
Finishing after removal Buffer bit or fine sanding band 4,000–8,000 RPM Blend remaining product; finish with hand file if needed

How to use it safely for clean results

  • Start low, then adjust: begin at a lower speed and increase only as control improves; faster is not automatically better.
  • Use feather-light pressure: let the bit do the work; pressure increases friction and makes heat build quickly.
  • Keep constant motion: holding a bit in one place can create heat and friction burns.
  • Use a slight angle: work in passes rather than drilling straight down into the nail plate.
  • Stop early during removal: when unsure, leave a thin layer and switch to a hand file for the final refinement.
  • Manage dust: if dust is noticeable, consider eye protection and a dust collector for frequent sessions.
  • Listen to the nail: discontinue if pain, strong heat, or thinning appears; healthy nails shouldn’t feel burning.

Ventilation and dust control matter more than many people expect. For guidance on salon-style safety practices (including air quality and exposure reduction), review resources from OSHA and the CDC/NIOSH.

Choosing the right bits and keeping them clean

  • Grit matters: coarse for bulk product reduction; fine for refining and finishing.
  • Material differences: carbide for acrylic and heavy product; ceramic can run cooler; sanding bands are versatile but wear faster.
  • Shape choices: barrels for surface work; cones/tapers for sidewalls; small flame bits for precise detailing.
  • Sanitation basics: remove debris after each use; disinfect according to product guidance; store bits dry to help prevent corrosion.
  • Replace worn parts: worn sanding bands and dulled bits increase pressure and heat, making results less even.

A simple rule that protects natural nails: use the least aggressive bit that still accomplishes the step. If removal feels slow, switching to a more appropriate bit (or a fresh sanding band) is usually safer than pushing harder.

Who it’s best for

Common mistakes that cause heat, thinning, or unevenness

Product options to consider

At-a-glance details

Item Price Availability
Professional Cordless Electric Nail Drill Machine 7.51 USD In stock

FAQ

Can a cordless nail drill be used on natural nails?

Yes—use a low speed, a fine grit bit, and very light pressure. Keep the bit moving continuously and avoid coarse bits on the natural nail plate to reduce the risk of heat and thinning.

What speed should be used to remove gel polish safely?

A cautious range is often around 8,000–15,000 RPM with a fine/medium bit, reducing the gel gradually in thin layers. Stop before you reach the natural nail, and use a hand file for the final thin layer if you’re not fully confident.

Why does a nail drill feel hot or burn?

Heat usually comes from friction—too much pressure, staying in one spot, using a dull bit, or running RPM too high for the task. Use a lighter touch, keep moving, swap to a fresh/appropriate bit, and lower speed until the drill feels smooth and controlled.

Was this article helpful?

Yes No
Leave a comment
Top

Shopping cart

×