What Google Lens is best at for fashion (and where it struggles)
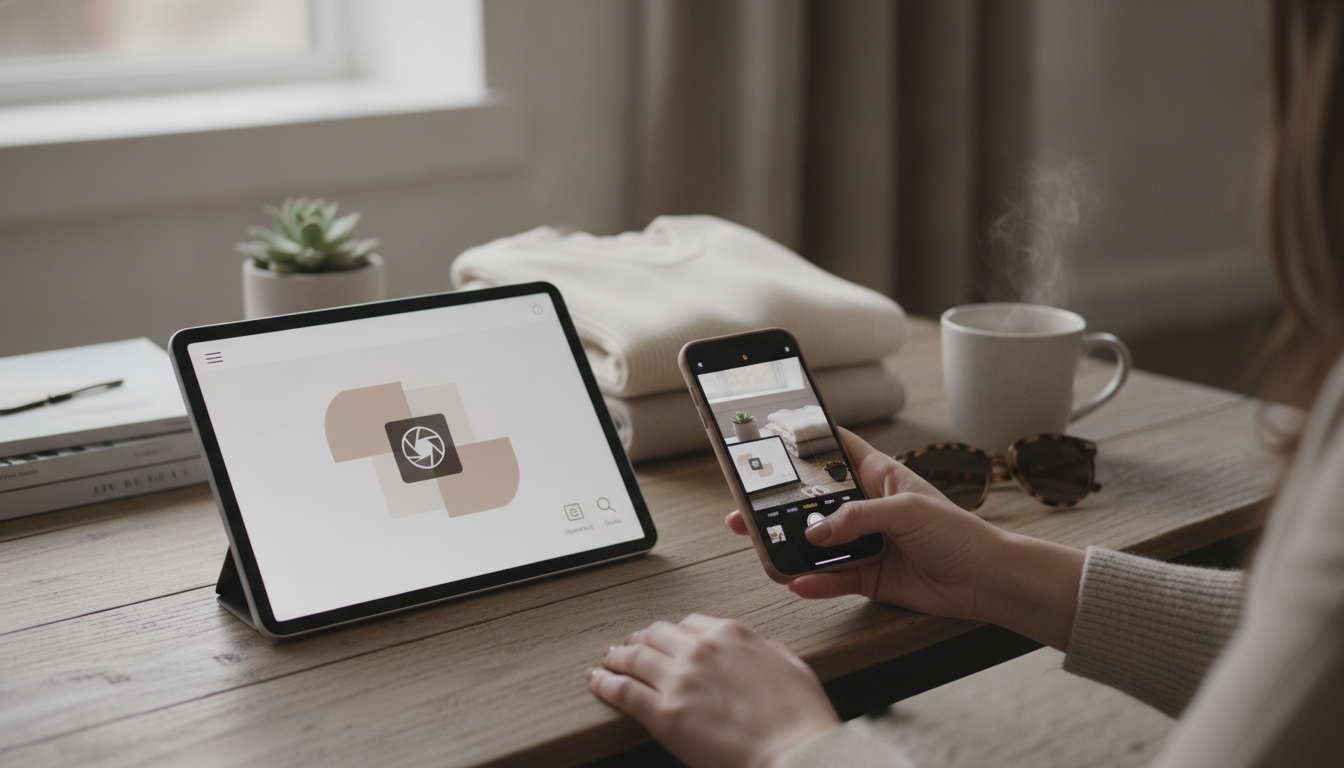
Google Lens is like a shortcut between “I love that look” and “show me options I can actually buy.” It shines most when there’s a clear focal item and enough visual detail for the tool to recognize shape, texture, and standout features. For more guidance, see Google | Stop planning and start seeing the new you. Open ….
- Great for: identifying specific items, finding close dupes, recognizing patterns (plaid, houndstooth), and matching sneakers, bags, and statement jackets
- Also useful for: discovering brand names/logos, spotting similar silhouettes (wrap dress, wide-leg trousers), and finding styling images
- Common struggles: lighting changes, heavy filters, unusual angles, layered outfits, and generic basics (plain white tee) that return noisy results
- Quick-fix mindset: aim for “closest match + styling cues,” not always an exact product match
Quick Troubleshooting for Better Outfit Matches
| If results look wrong… |
Try this |
Why it helps |
| Too many unrelated items |
Crop tightly around one piece (e.g., just the jacket) |
Lens matches the most prominent shapes and textures |
| Wrong color shows up |
Search again with better lighting or a neutral background |
Color accuracy improves with clearer exposure |
| Only shows shopping, no styling |
Switch to Image results or add a descriptor like “outfit” in the query |
Broadens results beyond products |
| Keeps matching the background |
Cover or blur the background and rescan |
Reduces competing visual signals |
| Can’t find the exact item |
Search the pattern/material (e.g., “black boucle blazer”) after scanning |
Combines visual match with stronger text intent |
For official tips on how Lens works across apps, check Google Lens Help and Google Photos Help: Search with Google Lens. For further reading, see Get outfit inspiration with style ideas in Google Lens.
The 10-minute Snap → Search → Slay workflow
This is the repeatable routine that keeps results clean and decisions easy—especially when you’re working from a screenshot, a thrift-store mirror pic, or a quick street-style snap.
- Choose one “hero” piece (coat, shoes, bag, or dress) and scan that first. Starting with the star item prevents the algorithm from latching onto random background details.
- Crop like a stylist. Remove faces, busy scenery, mirrors, and props before scanning. If the hero item is small, crop even tighter than you think you should.
- Run two scans: one close-up for fabric/details (buttons, seams, quilting, logos) and one full silhouette scan. Detail pulls better product matches; silhouette pulls better outfit ideas.
- Open 3–5 top matches and write down repeat words you see (like “ribbed,” “square-toe,” “satin slip,” “cropped,” “double-breasted”). Those phrases become your fastest refiners.
- Build an outfit formula from the find. Example: “oversized blazer + slim knit + straight jean + pointed flats.” Formulas make the look wearable—even if the exact piece is out of stock.
- Save to a dedicated folder/collection with a short label: occasion + season + key item (example: “Work / Fall / Camel Coat”).
- Repeat with one supporting piece only. Don’t rescan the full look yet; isolate the next most important item (often shoes or bag).
- Final scan: capture the whole outfit to pull accessory ideas, color palette cues, and proportion details you might miss (bag scale, belt width, jewelry tone).
How to get better results from screenshots, reels, and street photos
- Use the cleanest frame: pause videos on a sharp moment with minimal motion blur. If the hemline is smeared, Lens will guess.
- Increase clarity: zoom slightly before taking the screenshot so clothing texture is readable (knit ribs, tweed nubs, denim grain).
- Edit before scanning: crop to the garment, straighten the image, and brighten shadows. A small exposure bump can reveal seams and panels that matter.
- Handle prints smartly: scan a print close-up first (floral, leopard, stripes), then scan the full garment. Prints often match best when Lens sees the repeat clearly.
- For runway/editorial looks: expect “inspired by” results. Focus on shapes, materials, and styling pairings (sheer + structured, oversized + sleek, monochrome + texture).
From matches to outfits: turn Lens results into a closet-friendly plan
Once you’ve got decent matches, the win is turning them into outfits that work with what’s already hanging in your closet.
A digital checklist that keeps searches organized (and prevents impulse buys)
If you want the whole process in a ready-to-use format, save this internal guide: Snap, Search, Slay: Your Google Lens Outfit Guide – Digital Checklist for Fashion Lovers | How to Use Google Lens for Outfit Ideas.
Quick add-on for looking refreshed in outfit photos
Option to keep with your styling tools: Ice Roller for Face & Eyes – Skin Tightening Facial Massage Tool.
FAQ
Why does Google Lens show the wrong clothing item even when the photo is clear?
Lens tends to prioritize prominent shapes, high-contrast areas, and whatever object takes up the most visual space. Crop tighter around the garment, reduce background clutter, and run a second scan that zooms in on details like buttons, stitching, or texture.
How can outfit ideas be saved so they’re easy to reuse later?
Save results into separate collections (like “Exact Find,” “Dupes,” and “Outfit Ideas”) and label each save with a short note such as season/occasion/hero piece. Adding descriptors (fabric, neckline, heel height) makes it much easier to recreate the look months later.
What’s the fastest way to find a dupe when the exact item is sold out?
Scan for the silhouette first, then refine with text descriptors like material, neckline, rise, or heel height. Running both a detail scan and a full-outfit scan usually surfaces better alternatives faster than repeating the same image.
Recommended for you







Leave a comment