Transparent Cake Collar Roll for Clean Mousse and Layered Cake Edges
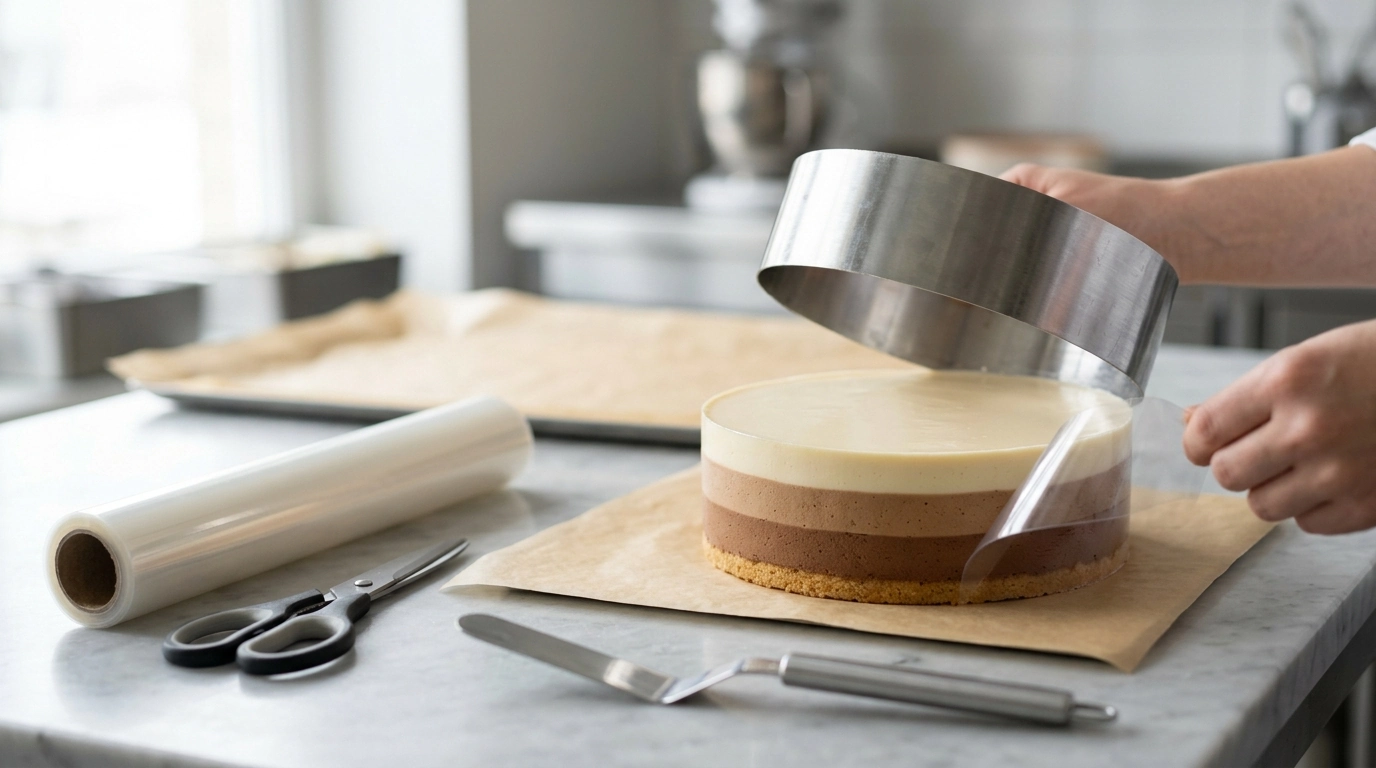
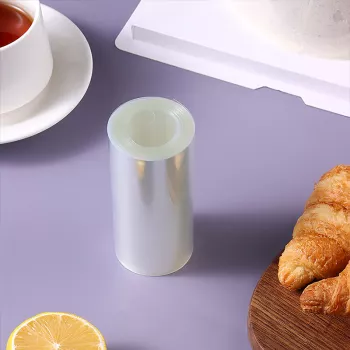
A transparent cake collar roll is one of the simplest ways to get smooth, straight sides on chilled desserts—especially mousse cakes, no-bake cheesecakes, and stacked layer cakes with soft fillings. Set inside a cake ring or springform pan, the clear strip acts like a removable inner wall, helping layers stay aligned and release cleanly once fully set. The result is sharper edges, tidier layers, and a more professional finish with less scraping and patching. For more guidance, see Tools&Equipment – bakelibakerypackaging.
What a cake collar does (and when it matters most)
Think of a cake collar as a sleek liner that guides your dessert into a clean cylinder. While parchment can work in a pinch, collars are purpose-built for cold-set cakes where the sides are part of the presentation.
- Creates a smooth inner wall so mousse, cream, ganache, and fillings set with crisp sides.
- Reduces sticking and tearing when unmolding chilled or frozen cakes.
- Helps keep layered inserts aligned (biscuit base, fruit gelée, mousse, glaze-ready tops).
- Most useful for: mousse entremets, ice cream cakes, no-bake cheesecakes, tiramisu-style builds, and layered chocolate cakes with soft fillings.
Why clear collars outperform parchment for mousse cakes
Paper liners tend to wrinkle and absorb moisture, which can translate into rippled edges or a slightly “dragged” look after unmolding. Clear collars are designed to stay smooth and release cleanly.
- Rigid, slick surface supports clean vertical walls better than paper-based liners.
- Transparency makes it easier to check for bubbles, uneven layers, and smears before chilling.
- Less moisture absorption than parchment, helping delicate creams set without wrinkled edges.
- Cleaner release for mirror glazes and acetate-sharp chocolate finishes.
For additional baking and pastry technique references, browse guides from Serious Eats.
Choosing the right height and fit for your pan or ring
Most collar issues come down to sizing: too short and the mousse can crest over the top; too loose and you’ll get waves or a visible seam. A well-fitted strip should sit flush against the inner wall with minimal overlap.
- Match collar height to the finished cake height, leaving a small margin above the top layer to prevent overflow.
- Measure the inside circumference of the ring/pan for the length to cut; overlap slightly for a sealed seam.
- For tall builds, consider doubling collars or selecting a taller strip to avoid bulging at the top.
- If using a springform pan, place the collar against the inner wall before adding crust or batter for the cleanest release.
Quick sizing guide for cutting a cake collar
| Pan/Ring Diameter |
Typical Finished Cake Height |
Suggested Collar Height |
Length to Cut (Approx.) |
| 6 in / 15 cm |
2.5–3.5 in |
4 in (or taller for high mousse) |
19–20 in (48–51 cm) |
| 8 in / 20 cm |
3–4 in |
4–6 in |
25–26 in (63–66 cm) |
| 9 in / 23 cm |
3–4.5 in |
6 in |
28–29 in (71–74 cm) |
| 10 in / 25 cm |
3.5–5 in |
6 in (or taller) |
31–32 in (79–81 cm) |
Step-by-step: getting sharp mousse layers with a collar roll
A collar works best when it’s installed smoothly and the dessert is allowed to fully firm up before removal. The goal is a clean peel—no tugging, no dragging, no streaks.
- Prep the ring/pan: Place it on a flat tray or cake board lined with parchment for easy transfer.
- Cut the collar: Measure and cut a strip long enough to line the inner wall with a 1–2 inch overlap.
- Install smoothly: Press the collar against the ring so it sits flush with no ripples; tape the overlap if needed to prevent shifting.
- Build the layers: Add base, inserts, and mousse in stages; tap gently to release air bubbles and level each layer.
- Chill or freeze fully: Collars work best when fillings are cold-set; unmold only when firm.
- Release: Remove the ring first (if applicable), then peel the collar straight down and away for clean sides.
Pro tips for cleaner edges and fewer trapped bubbles
Food contact, cleanup, and storage
- Use food-safe lining sheets intended for bakery or confectionery applications. The U.S. Food & Drug Administration provides background on food contact substances and packaging safety.
- Single-use is common for best clarity and hygiene; if reusing, wash gently and avoid scratching to keep a smooth release surface.
- Store the roll flat or in its original shape to prevent creases that can imprint into mousse or cream.
Product options for baking and finishing
FAQ
Can a cake collar be used in a springform pan?
Yes—line the inner wall before adding crust or batter, keeping the strip flush to the sides. Overlap the seam so the filling can’t seep behind the collar while the cake sets.
Do mousse cakes need to be frozen before removing the collar?
Freezing isn’t required for every recipe, but the cake should be fully set and firm before you unmold. Freezing helps achieve the sharpest edges and often makes collar removal cleaner.
How do you keep the collar from sliding while filling the ring?
Press it snugly against the ring and keep the seam overlapped; a small piece of tape on the overlap can help prevent shifting. Add layers slowly, level each addition, and tap gently to release air bubbles.
Recommended for you











Leave a comment