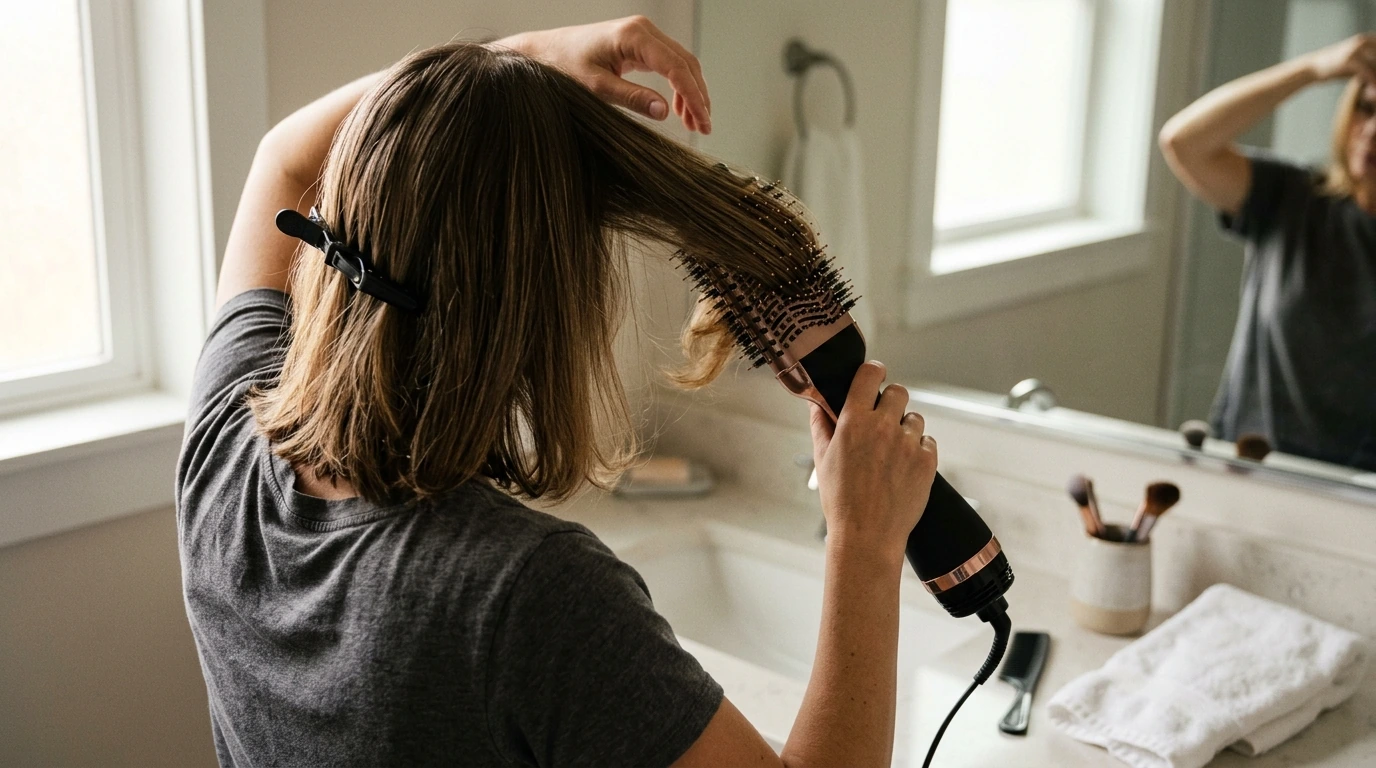
A hot air brush hair dryer combines drying and styling into one tool, making it easier to create volume at the roots, smooth lengths, and shape ends without juggling a separate dryer and round brush. The result is a brushed-out finish that looks polished but still touchable—especially when you work in controlled sections on damp hair instead of starting from soaking wet.
Below is a practical breakdown of what makes a hot air brush different, who it tends to flatter most, and how to use it for a longer-lasting blowout with less frizz and less time spent styling.
A regular hair dryer is great for moving water out of hair quickly, but it doesn’t provide the consistent tension that a brush does. A hot air brush merges those two steps by sending warm airflow through the brush head while you guide and shape the hair.
For hair health and safe use, it’s worth following general guidance on gentle hair care and heat habits from the American Academy of Dermatology Association, and basic appliance safety tips from the U.S. Consumer Product Safety Commission.
If you like the look of a round-brush blowout but want fewer moving parts, a volumizing hot air brush is built for that middle ground: faster than a traditional blowout, smoother than air-drying, and easier than coordinating brush + dryer.
| Feature | What it means for styling |
|---|---|
| 4-in-1 styling approach | Switches from rough-dry to smoothing and shaping without swapping tools |
| Brush + hot airflow | Adds tension for a smoother finish while drying |
| Volumizing focus | Helps lift roots and create a rounded blowout look |
| One-tool routine | Less coordination than dryer + separate brush |
Most hair types can use a hot air brush, but the “best match” depends on what you want your finish to look like and how much hair you’re working with.
| Hair type | Best approach | Finish tip |
|---|---|---|
| Fine/flat | Use volumizing mousse at roots; work in small sections | Let roots cool lifted before releasing |
| Wavy/frizzy | Rough-dry to damp; then smooth from roots to ends | Finish with a lightweight serum on ends only |
| Thick/long | Pre-dry to 70–80%; then style in medium sections | Pin warm sections to cool for extra bounce |
| Curly/stretching | Use leave-in + heat protectant; tension-stretch in controlled passes | Seal with a light cream to reduce puffiness |
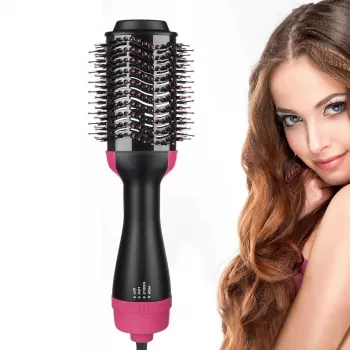
If you want an everyday tool that can rough-dry, smooth, add lift, and curve the ends in one routine, the 4-in-1 Volumizer & Hot Air Brush Hair Dryer is a practical, single-tool choice for quick blowouts and easy refreshes.
For a simple add-on to a blowout routine (especially if you’re trying to reduce the look of puffiness around the eyes after heat styling), the Ice Roller for Face & Eyes – Skin Tightening Facial Massage Tool pairs nicely with at-home self-care.
Damp hair is best, or hair that’s been pre-dried to about 70–80%. You’ll get better control, a smoother finish, and you’ll spend less time exposing the same sections to heat than you would starting from soaking wet hair.
It can smooth and reduce frizz for a blowout look, but it won’t always create a pin-straight finish. If you want ultra-straight results—especially on coarse hair or tight curls—a flat iron may still be needed.
Work in smaller sections, focus on lifting and setting the roots, and let each section cool before brushing it out. Use light hold products (especially at the roots) and avoid heavy oils near the scalp; sleeping with a loose top-knot or on a silk/satin pillowcase can also help preserve volume.







Leave a comment